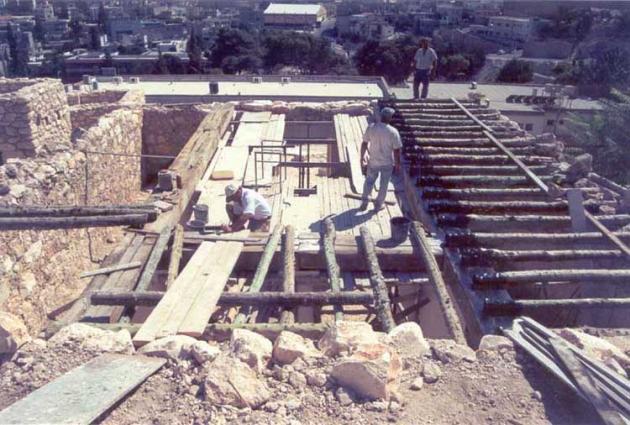
With the capitals lifted and set atop the columns, the synagogue begins to feel like a building. Heavy timbers – squared and dimensioned to span the capitals – are positioned across the colonnade. These beams have to be thick and sturdy to support the cross timbers of the lower roof and carry the stone wall and windows of the upper (clerestory) roof. Once these elements are in place, three rows of benches are hewn out of the bedrock.
Three stages of synagogue roof construction. Timbers in foreground are being leveled prior to setting them into the wall, while those on the right have been set and treated with tar to resist decay. The next set of beams will be laid across the open span on the left, one end supported by the colonnade and the other set across the outer wall.
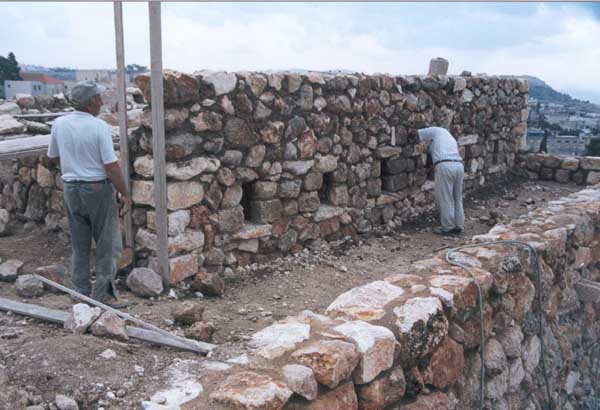
The lower roof provides a work platform to construct the clerestory walls and upper roof. A silhouette begins to emerge of a first-century Synagogue, the first true reconstruction of its kind.
Once the roof over the benches is completed, building the walls for the middle roof can be done. This will support the middle roof.
Upon completing the walls, colonnade and roof, the interior of the synagogue is plastered with a two-layer technique commonly used in the First Century. The first “base coat” is lime and sand, mixed with wood ash to improve adhesion to the wall. The second layer is a fine white finish layer of lime and quarry sand, giving a bright and durable finish to the interior. The synagogue floor is also plastered, using a mixture of lime, ash and gravely sand to make it insulative and water absorbent, and to provide good traction.
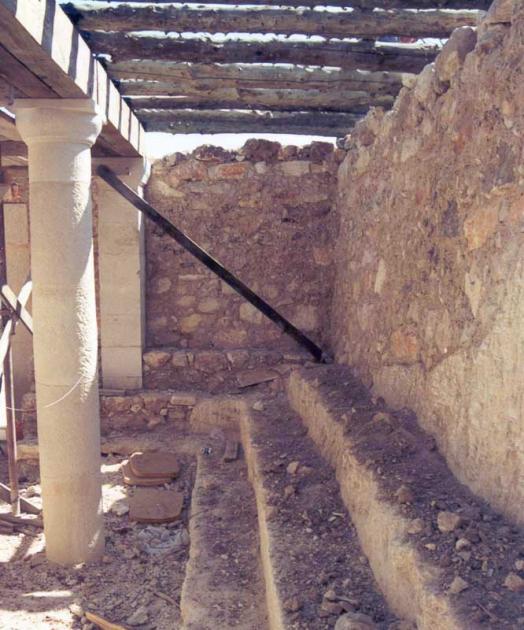
Raw benches and walls of the interior of the synagogue.
Roofing the sides of the synagogue — the part over the benches.
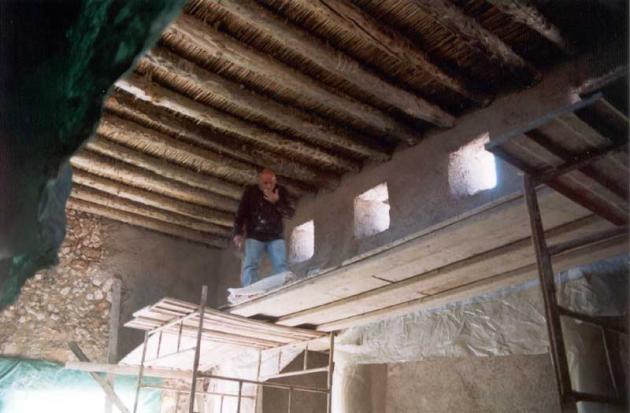
Plastering the inside walls of the synagogue